Find inspiration in what others have done with AutomationDirect products. Share your projects with the community!
Note: There are multiple Git clients that can be used. In the steps below we used GitHub Desktop. Web browser steps are in .pdf file above.
Note: Use examples at your own risk. Examples have been developed by sources other than AutomationDirect.com and not tested or verified by AutomationDirect.com
Note: There might be minor differences in steps depending on your project.
1.) Install GitHub Desktop onto your PC. https://desktop.github.com/
2.) If already have an account sign in or create new account.
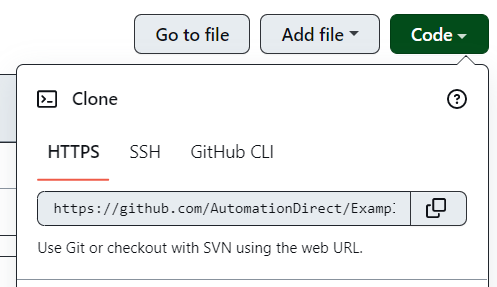
3.) Clone the repository:
a. Click on code dropdown & copy the repository address.
4.) In GitHub desktop select:
a. Click on File -> Clone Repository
b. Click on URL tab and paste URL from previous step and select clone.

5.) You will now see Customer Project Examples is selected as the current repository.

6.) Next you will want to create a new project folder in the existing Customer folder.
a. Click on repository and then show in explorer.
b. Go to Customers folder -> select a product folder
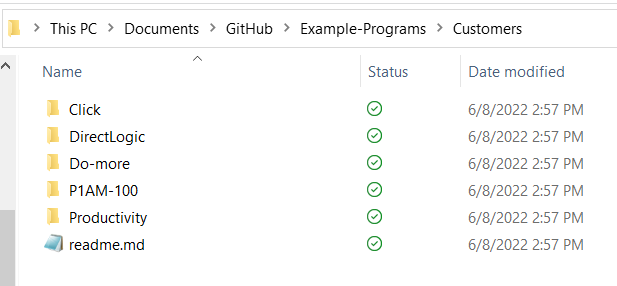
c. Right click and create a new project folder name and put all files into the folder.
d. Also inside project folder right click and create a new text document & name it "readme.md". This will be used as title page. So, open the file and give as much detail about your example project.
7.) Once all files are in project folder close the explorer window & go to desktop app and you will see all changes in left hand column.

8.) Add a description & summary -> then click on “commit to main”.

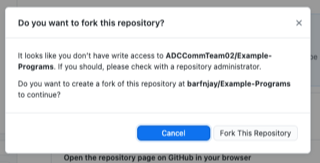
Note: You may get pop up asking to fork the repository -> select "fork this repository:
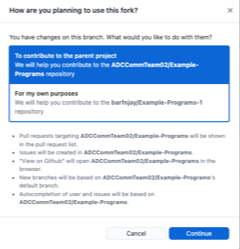
Followed by asking how you want to use the fork -> select "To contribute to main project":
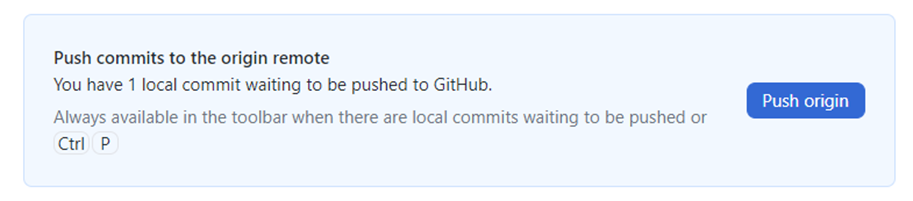
9.) Select “Push to Origin” This will push changes up to GitHub.
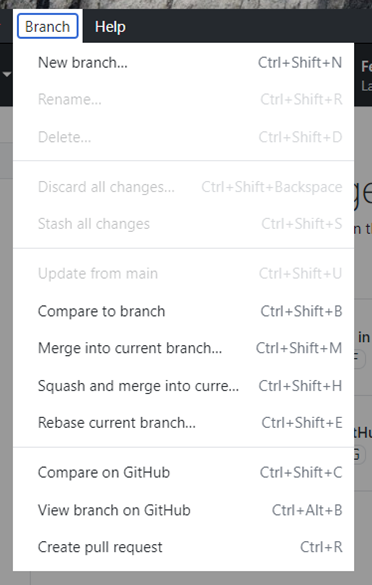
10.) Now select Branch -> Create a pull request
11.) This will open a comparing changes screen in GitHub. Now select “Create pull request” then “Create pull request” again.

12.) This will trigger an email to AutomationDirect.com to look over the request.
13.) AutomationDirect will review the ‘Pull Request’ and ‘Merge’ it into the repository if it is approved.
14.) You will get email notification and then your project will be available on GitHub.
