Git
Git is an industry standard package used for source code management. The command-line interface offers vastly greater control and user friendliness than the GUI version. Please read the whole page before accessing the repository.
| Term | Definition |
|---|---|
| repo | short for repository, the code directory |
| origin | the remote repo |
| clone | the local repo |
| branch | the code history is stored as a tree, each branch has different features |
| master | the default branch |
| commit | a node in the Git tree, think "save-point" |
| fetch | updates your clone, does not apply new commits |
| pull | updates the branch you are currently on with the latest commits |
| push | updates the branch on origin with your new commits |
| merge | merging two branches together |
| squash | squashing all the changes from a group of commits into one commit |
| rebase | rewriting history in the Git tree |
Please follow the instructions for your system.
Open a shell and type this to install Git. This is assuming you are using a Debian-based Linux distro.
sudo apt-get update
sudo apt-get install git -yOpen Terminal and type this to install Homebrew and, in turn, Git. If Homebrew is already installed on your system, execute only the last line of code.
ruby -e "$(curl -fsSL https://raw.githubusercontent.com/Homebrew/install/master/install)"
brew doctor
brew install git- Go here git-scm.com/downloads
- Choose Windows
- Run the installer
- Choose exactly these components

- Choose your editor; I recommend installing Visual Studio Code

- Leave the rest of the options as is and install
This will download the Git repo.
mkdir ~/GitHub
cd ~/GitHub
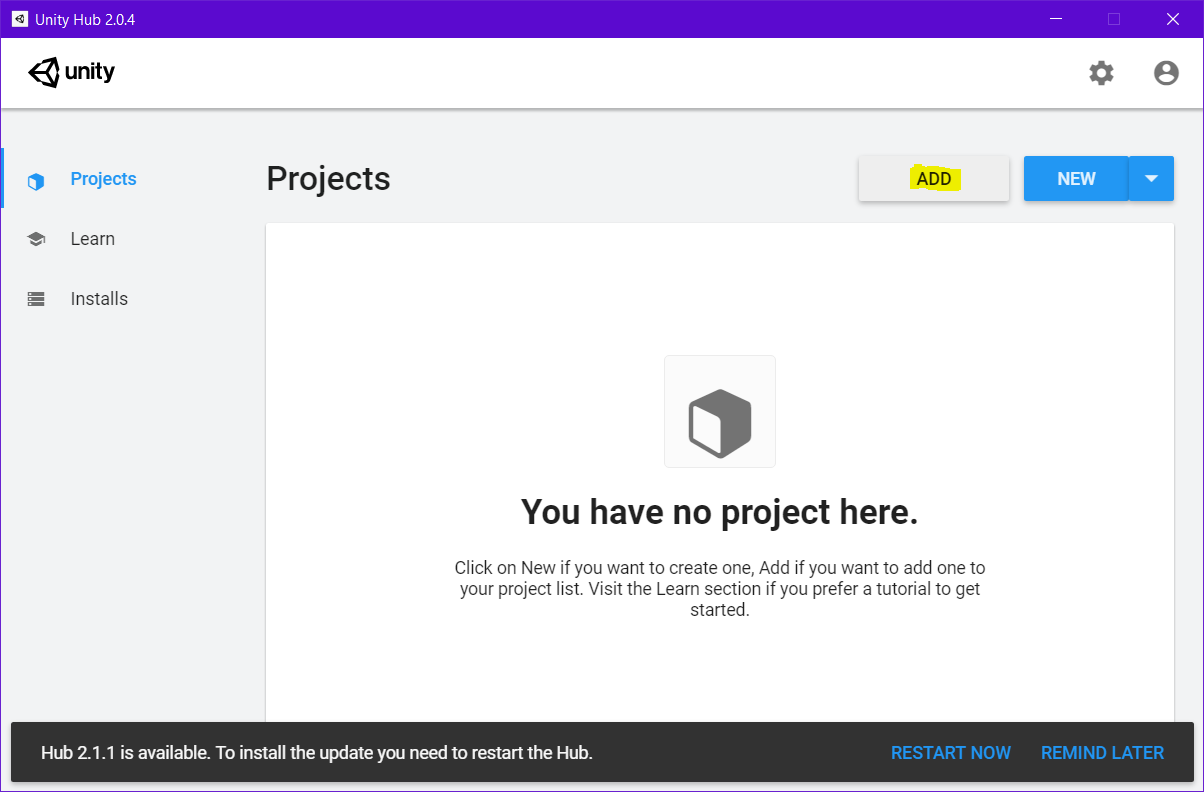
git clone https://github.com/AztecGameLab/LongTermGame2.git`Afterwards, open UnityHub > Projects > Add to import the project. For Windows users, it downloads to C:/Users/You/GitHub/LongTermGame2.
Commits are how we save work in Git. You need to commit frequently, rather than once a day, to ensure that we know exactly which changes were made that caused an error. I strongly recommend committing each time before you run code in the Unity3D editor at the bare minimum.
Before your first commit, please see Changing branches to switch to the correct branch that you are assigned.
git fetchgit pull- If
git pullfailed for any reason, stop and talk to Stephen so we can trace the issue together - Add all of your changes with
git add ., or replace "." with a specific file name - Commit your changes with
git commitand it will prompt you to add an appropriate and descriptive message for that commit; type your message on the first line, and on the following lines, add any significant changes that you made; save the file when you are done - Notify your team that you are pushing; once they agree,
git push. If that fails, stop and get Stephen
All members will be developing on the dev branch. You will not use the master branch.
- Commit any changes you currently have (see Committing), if any
- Execute
git checkout branch, but replace "branch" with the name of the branch you are switching to
Once your team has an update that is ready for master, you will submit a pull request which lists all the changes you made for it to be reviewed by one of the project leads.
- Go to the "Pull request" tab on the GitHub page for our repo and click "New pull request"

- Choose "master" as your base and your branch as your compare
- Submit the request