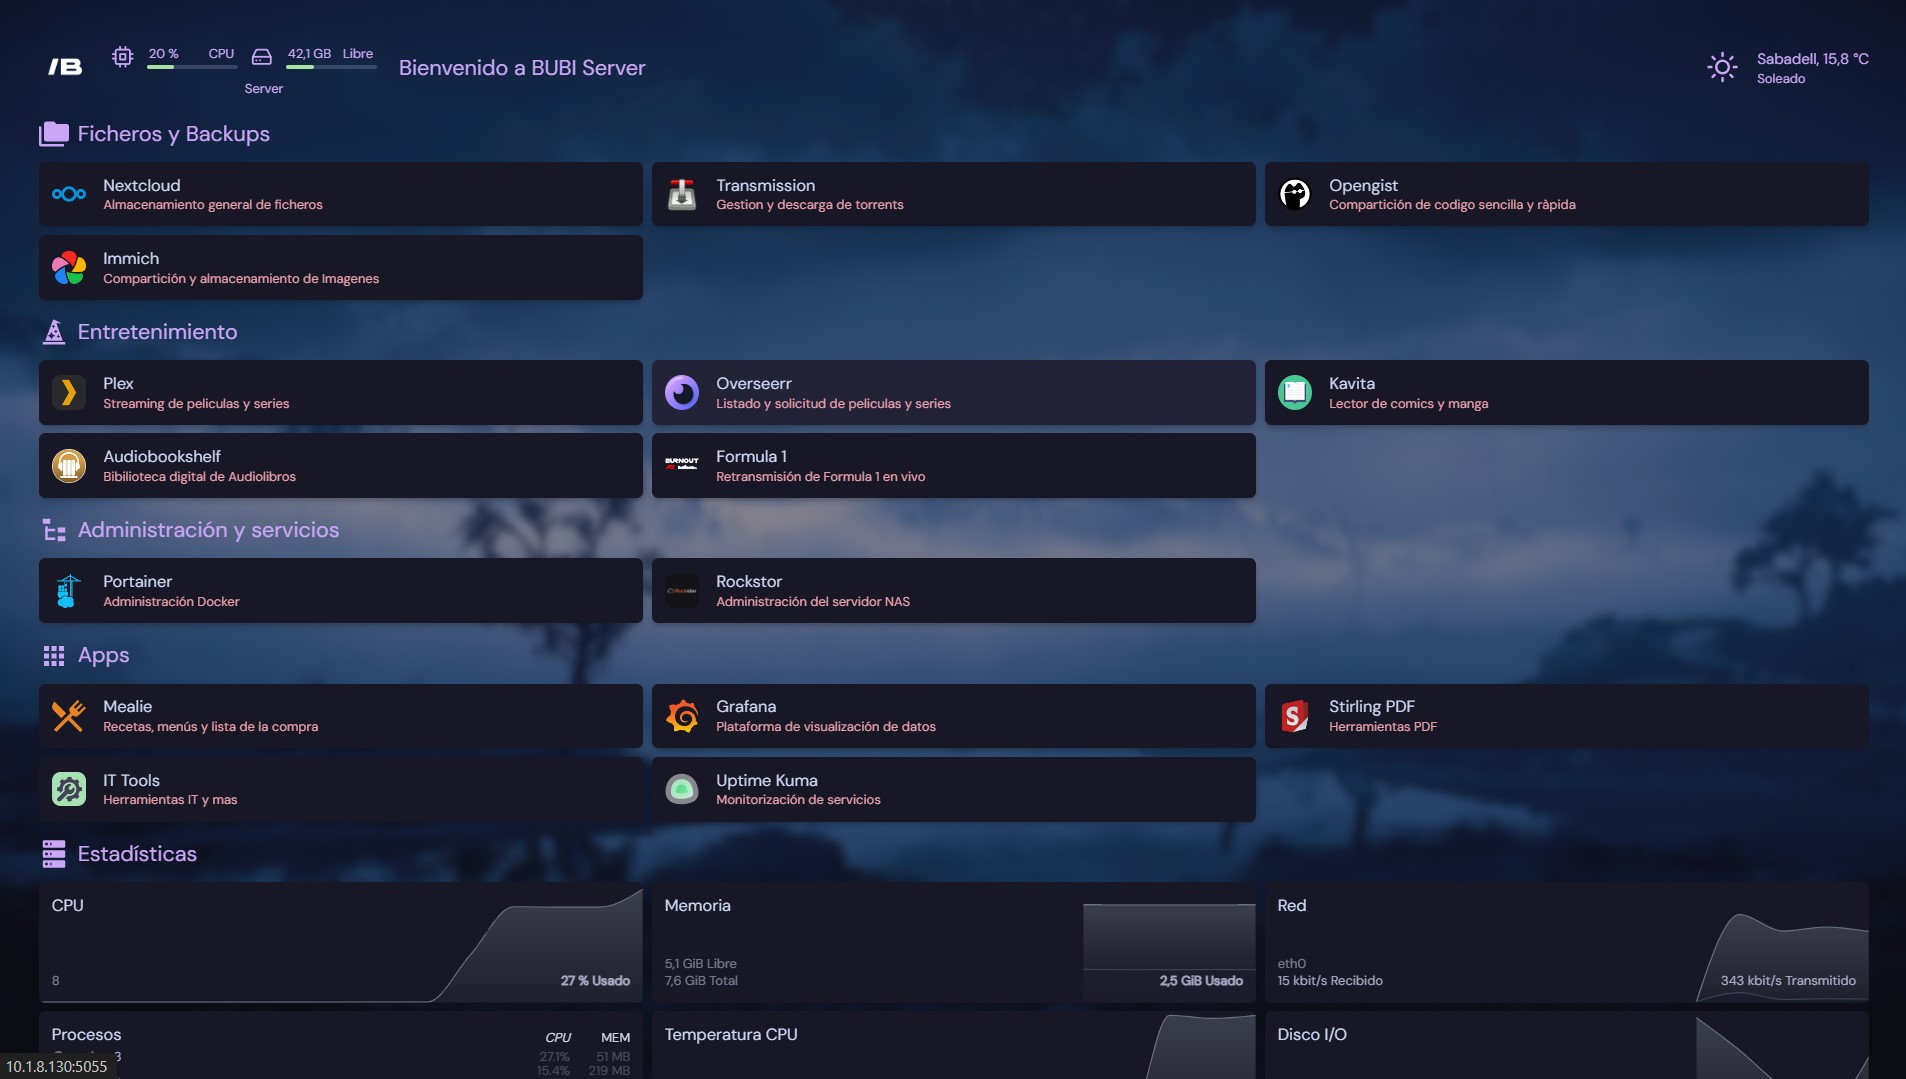
Welcome to the BUBI Server repository. Here you will find everything you need to set up and customize your own home server, following the same structure we use in BUBI.

-
Hardware:
- Raspberry Pi 4
- NAS or preferred storage system
-
Software:
- USB drive with Ubuntu Server installed
- Remote management tools (SSH, VNC, etc.)
Install Ubuntu Server on the Raspberry Pi 4 to begin the setup process.
- Assign a static IP address to your server for easier access.
- Install and configure SSH if it is not already enabled.
The configuration may vary depending on the OS used on your NAS. Below is the process using Rockstor:
-
Assign a static IP address to the NAS and install Rockstor.
-
From the Rockstor web interface:
- Go to Disks and format all drives, ensuring no previous file systems remain.
- In Pools, create a new pool with the disks you want to use.
- Select the RAID level (RAID 0 recommended when using disks of different sizes/brands).
- In File Sharing, enable NFS and create a new share with default permissions, adding your server’s IP.
-
On the server, edit
/etc/fstabto auto-mount the NAS share:IPOfNAS:/export/ShareName /MountPoint nfs defaults 0 0 -
Run:
mount -ato mount the share.
-
Update the system:
sudo apt update && sudo apt upgrade -y -
Install Docker:
sudo apt install docker.io sudo systemctl enable docker sudo systemctl start docker sudo systemctl status docker -
Install Portainer using Docker:
sudo docker run -d -p 8000:8000 -p 9000:9000 --name=portainer --restart=always \
-v /var/run/docker.sock:/var/run/docker.sock -v /bubiapps/portainer:/data \
portainer/portainer
-
Access the Portainer interface:
http://ServerIP:9000/
- On your first login, create the administrator account.
- Set up your first environment — in this case, the local environment.
-
Inside Portainer, open your environment and go to Stacks.
-
Click + Add Stack.
-
Paste the Homepage compose file into the Web Editor: Homepage Compose 🔗
-
Deploy the stack.
-
Access the dashboard:
http://ServerIP:7200 -
If you want the same configuration as BUBI Server, use the files here: Homepage Config 🔗
You can find more Docker Compose files for additional services in this repository: Docker Compose Files 🔗
You can also explore additional services here:
We welcome suggestions, improvements, and new features. Feel free to contribute!
This project is licensed under Creative Commons: BUBI Server © 2024 by BUBI — CC BY 4.0
Thank you for using BUBI Server. Enjoy building your own local cloud environment! 🚀